BridgeConnect Staff Guide
How Bridgenext Technologies employees request access, sign in, and use HR — My HR, Timesheets, and Time Off.
Before you start
Go to BridgeConnect and Request access
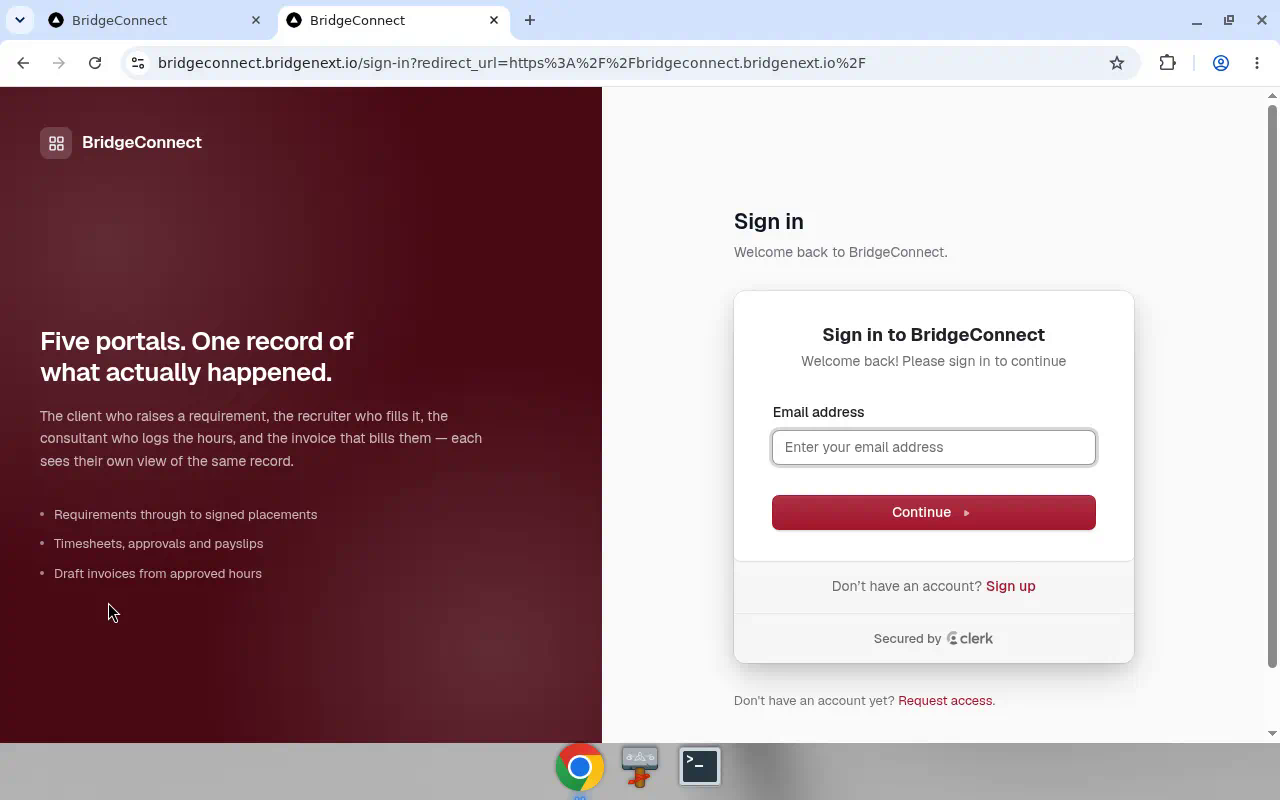
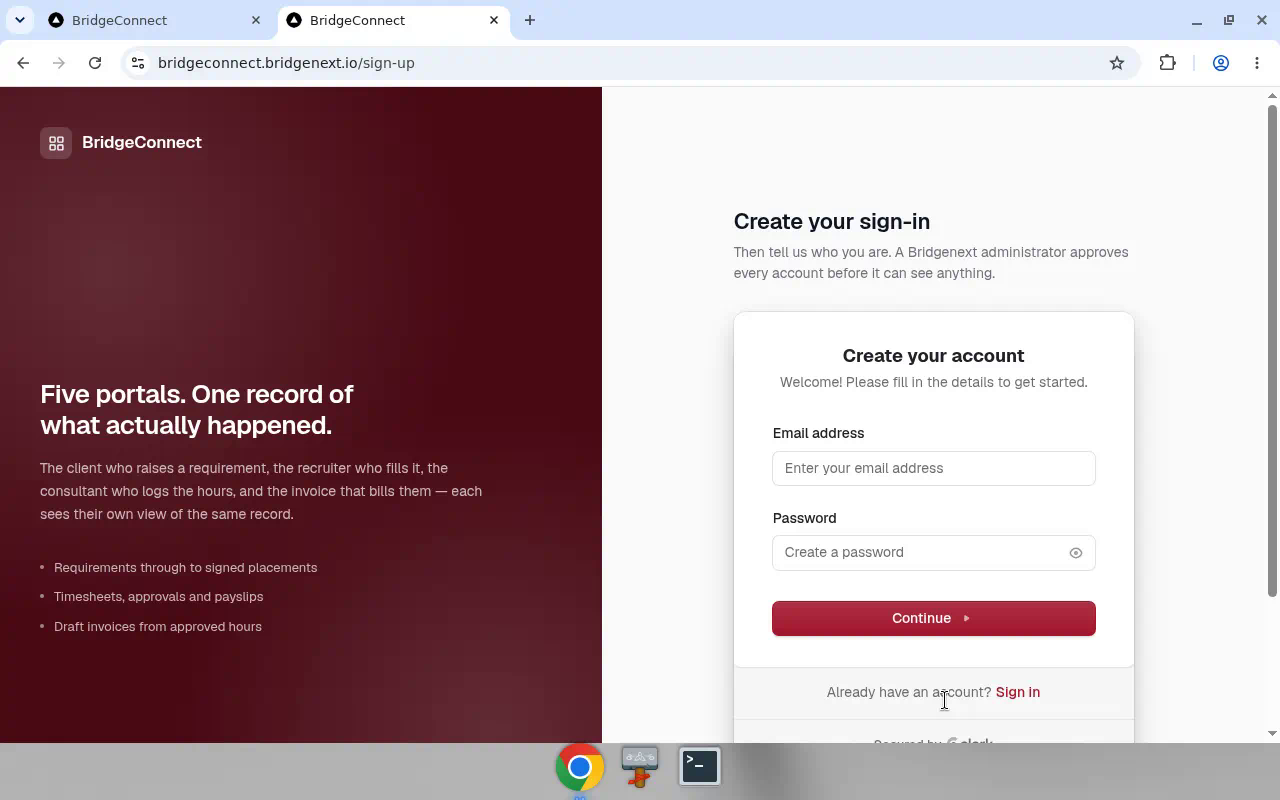
Open the site. If you don’t have an account yet, use Request access or Sign up. Enter your email (and create a password if asked) to continue.
Verify your email (OTP)
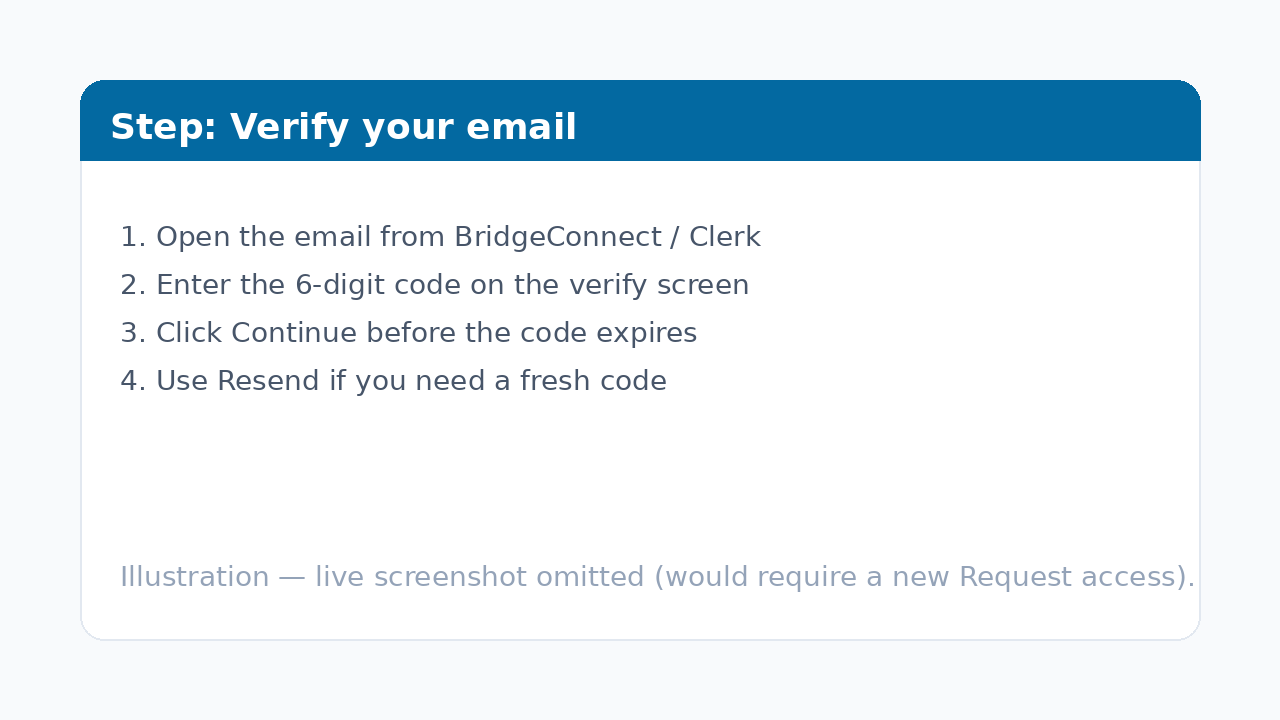
Enter the 6-digit code from your email on the verify screen, then Continue. Codes expire — use the newest message or Resend.
Choose “I work at Bridgenext”
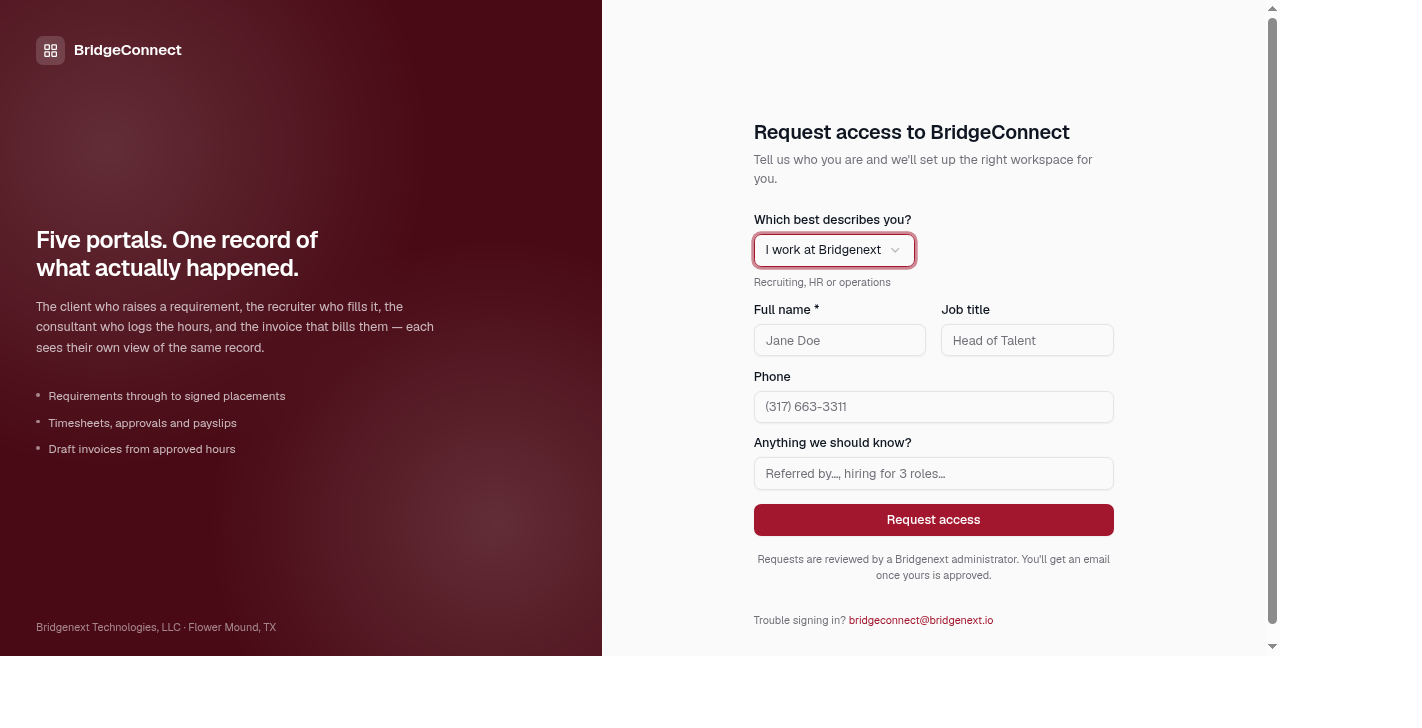
When asked which best describes you, select I work at Bridgenext (Recruiting, HR or operations — not client, not candidate). The company name field disappears automatically; you do not type Bridgenext Technologies. Add your name and job title, then submit. The footer still shows Bridgenext Technologies, LLC.
Submit and wait for review
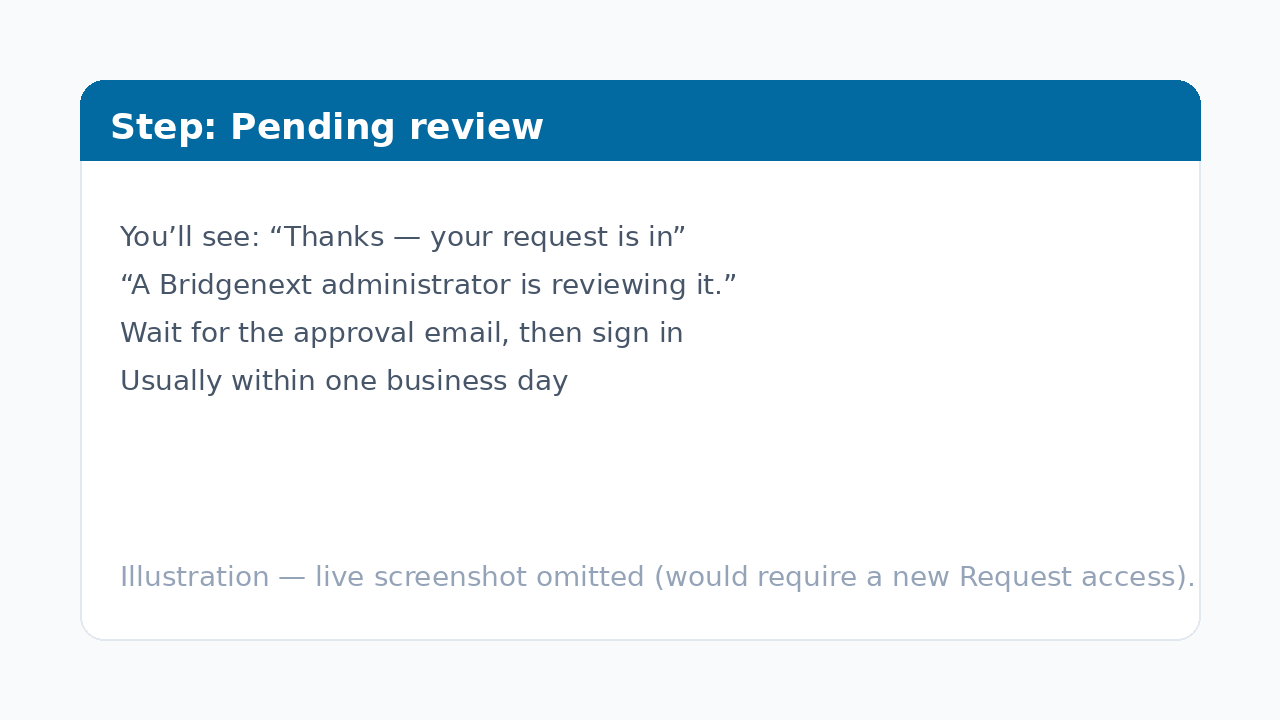
You’ll see a Pending review confirmation. A Bridgenext Technologies administrator must approve you (usually within one business day). Watch for the approval email with a sign-in link.
Sign in after approval
Open /sign-in with the same email. If you never set a password, use Forgot password?, enter the email code, then choose a new password.
Confirm you’re in Staff / HR (not Client)
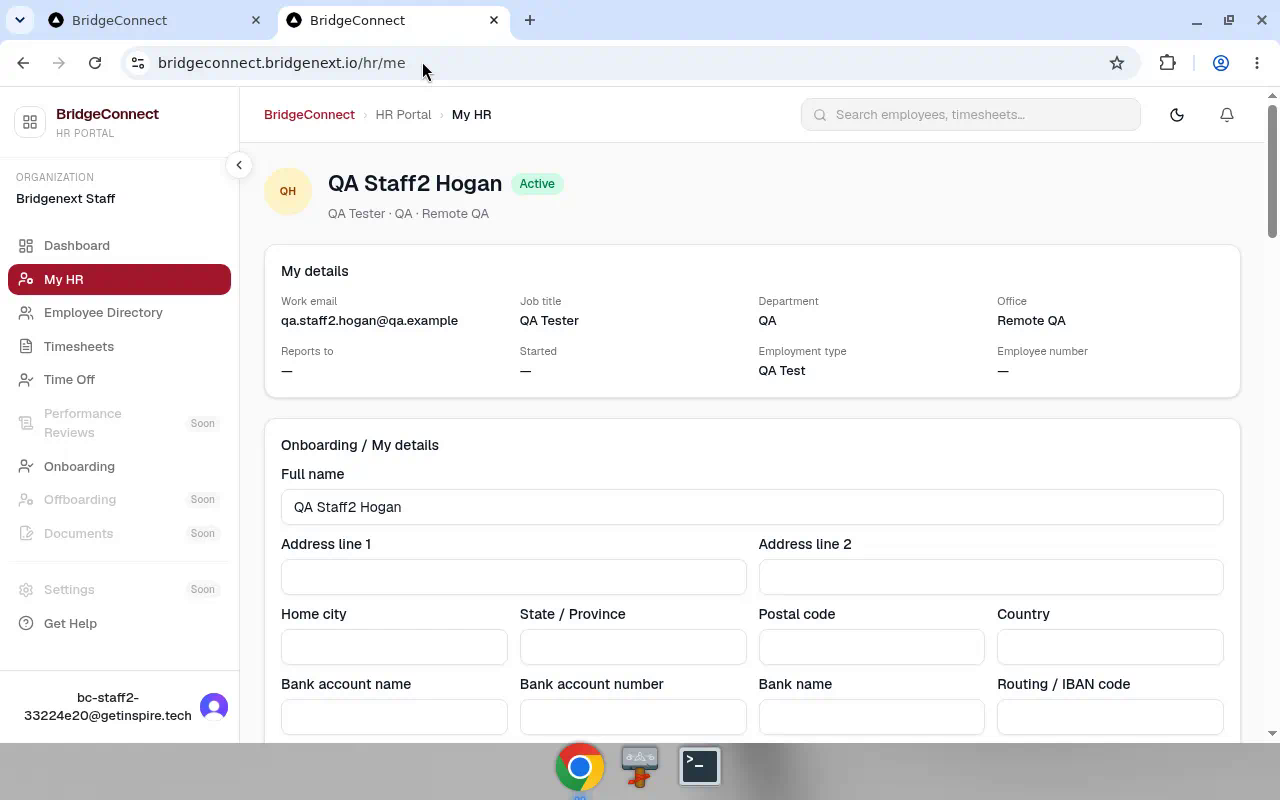
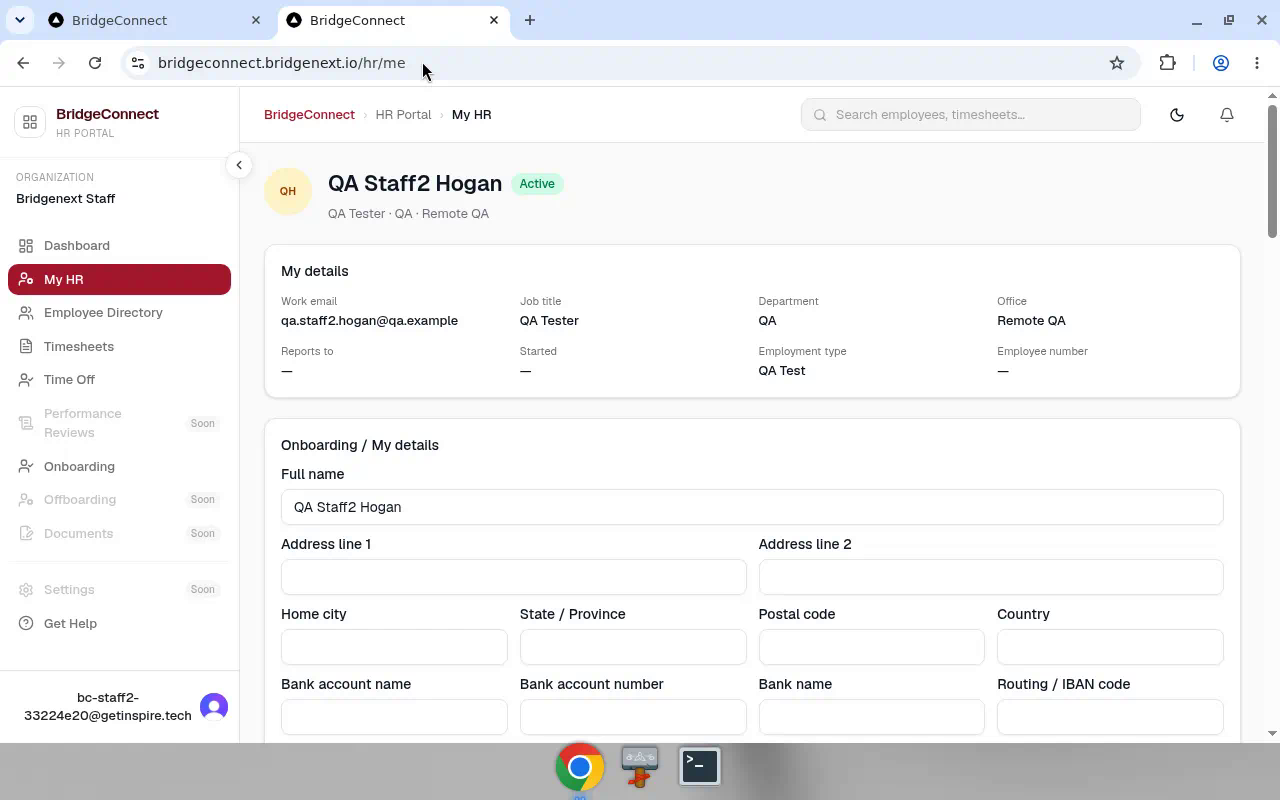
You should land in the HR shell — My HR at /hr/me, with Timesheets and Time Off in the sidebar — not Client recruiting (Requirements, Placements, Resource Pool).
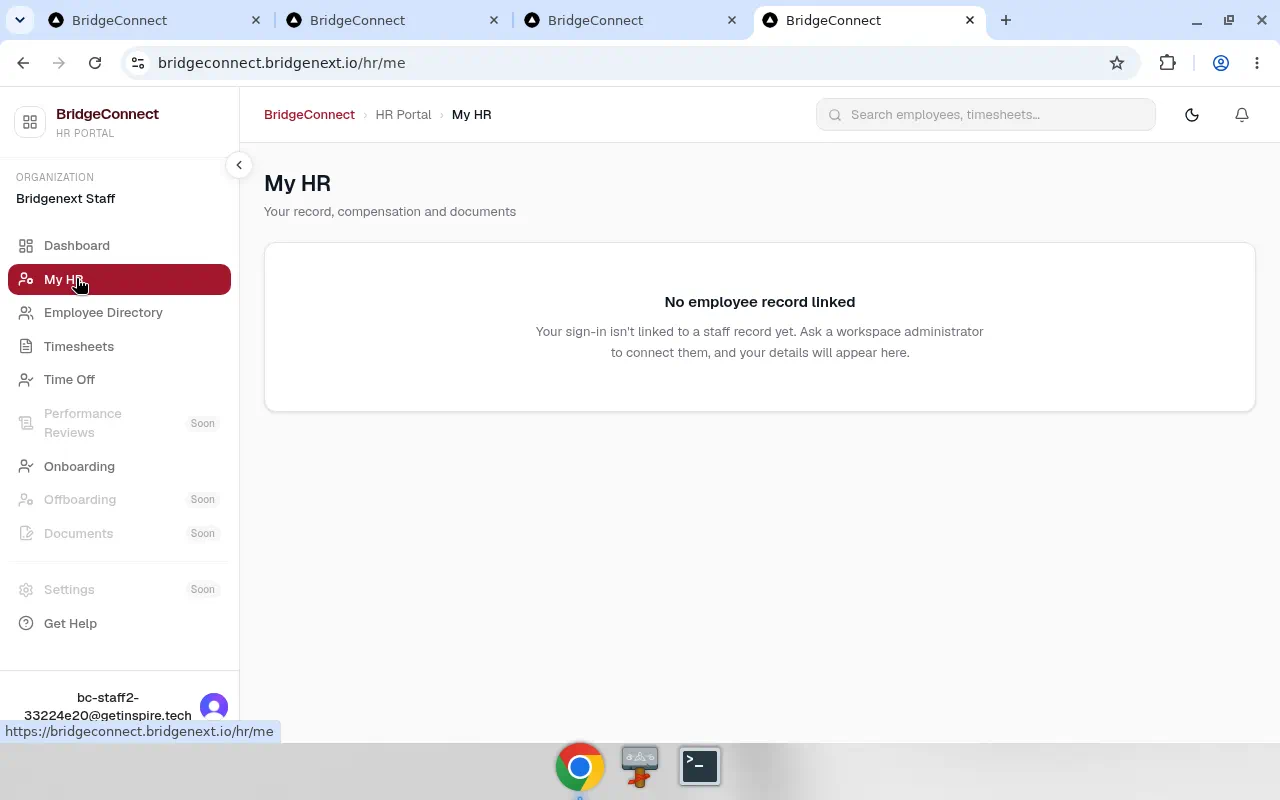
If you see “No employee record linked”
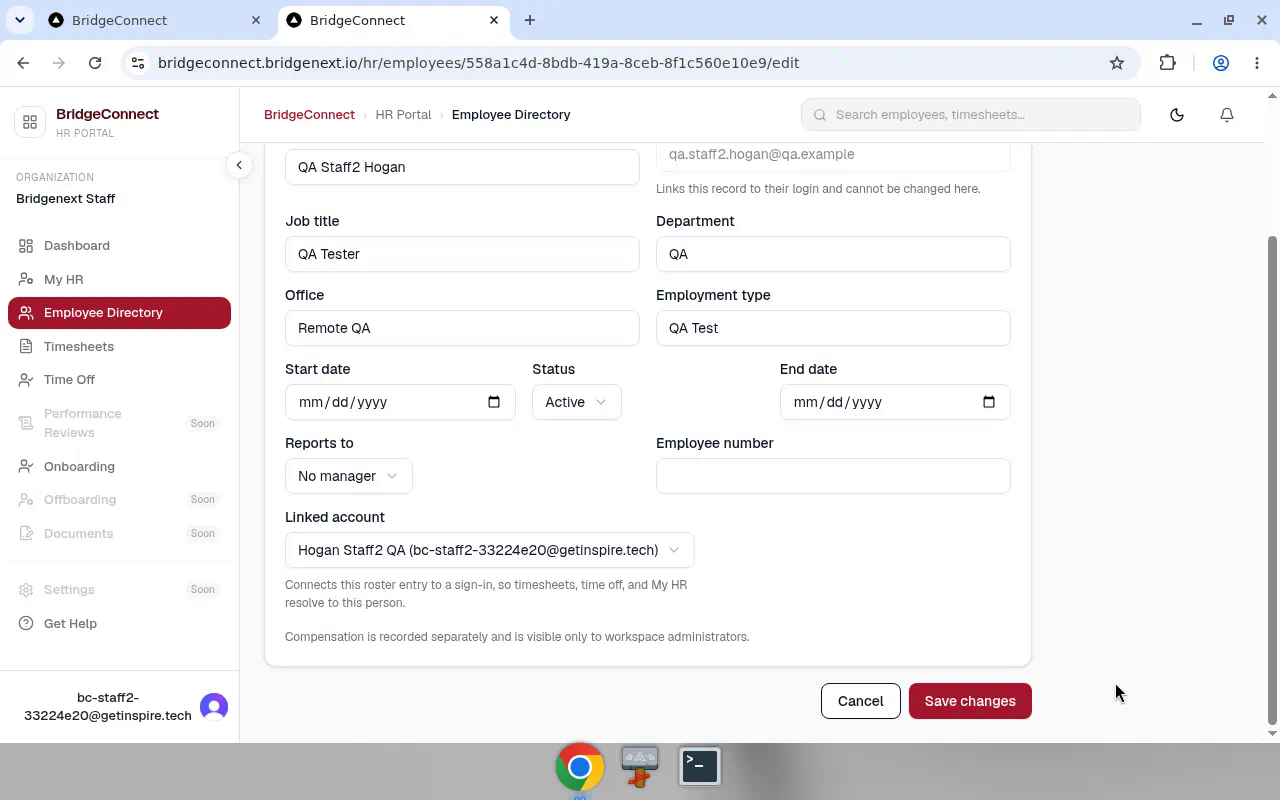
Approval gets you into HR, but your login still needs to be attached to your employee roster row. Ask a workspace admin to open Employee Directory → your employee → Edit → set Linked account to your login → Save changes.
Timesheets — enter hours per day
Open Timesheets from My HR or the sidebar. For an open pay period, use the day grid: hours and type for each day, plus a comment on every day with hours. The period total is calculated automatically — you don’t type a monthly total.
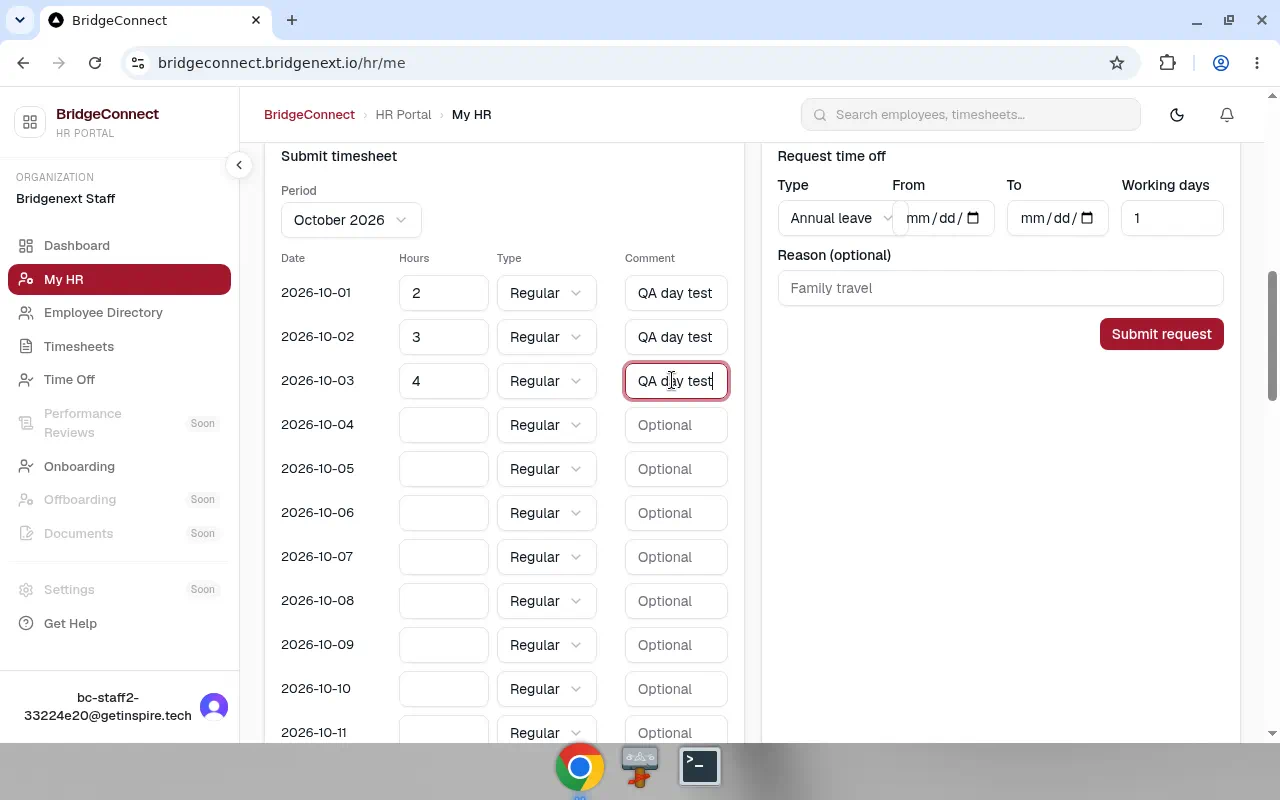
- Save as draft, or submit for approval when ready.
- Switching pay periods clears the grid so hours don’t land on the wrong month.
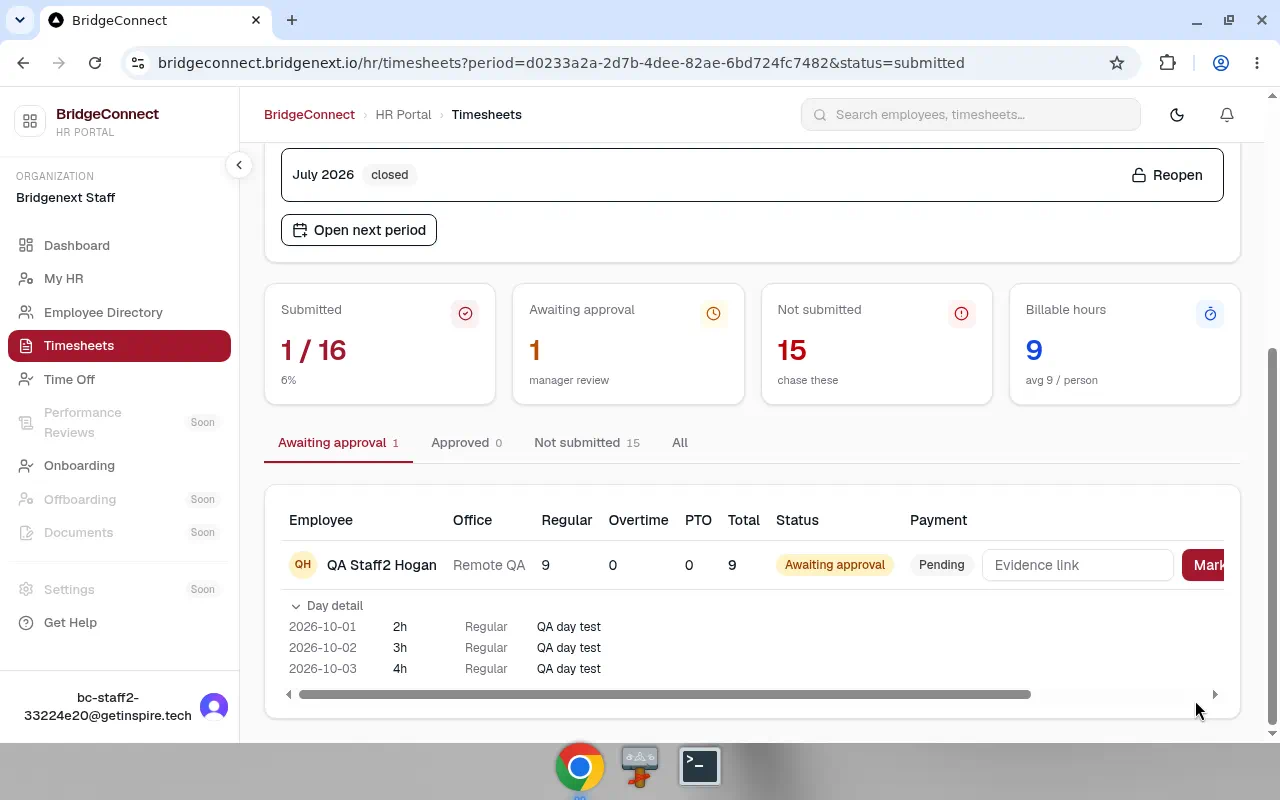
- Managers approve at period level and can expand day-by-day detail.
Time Off
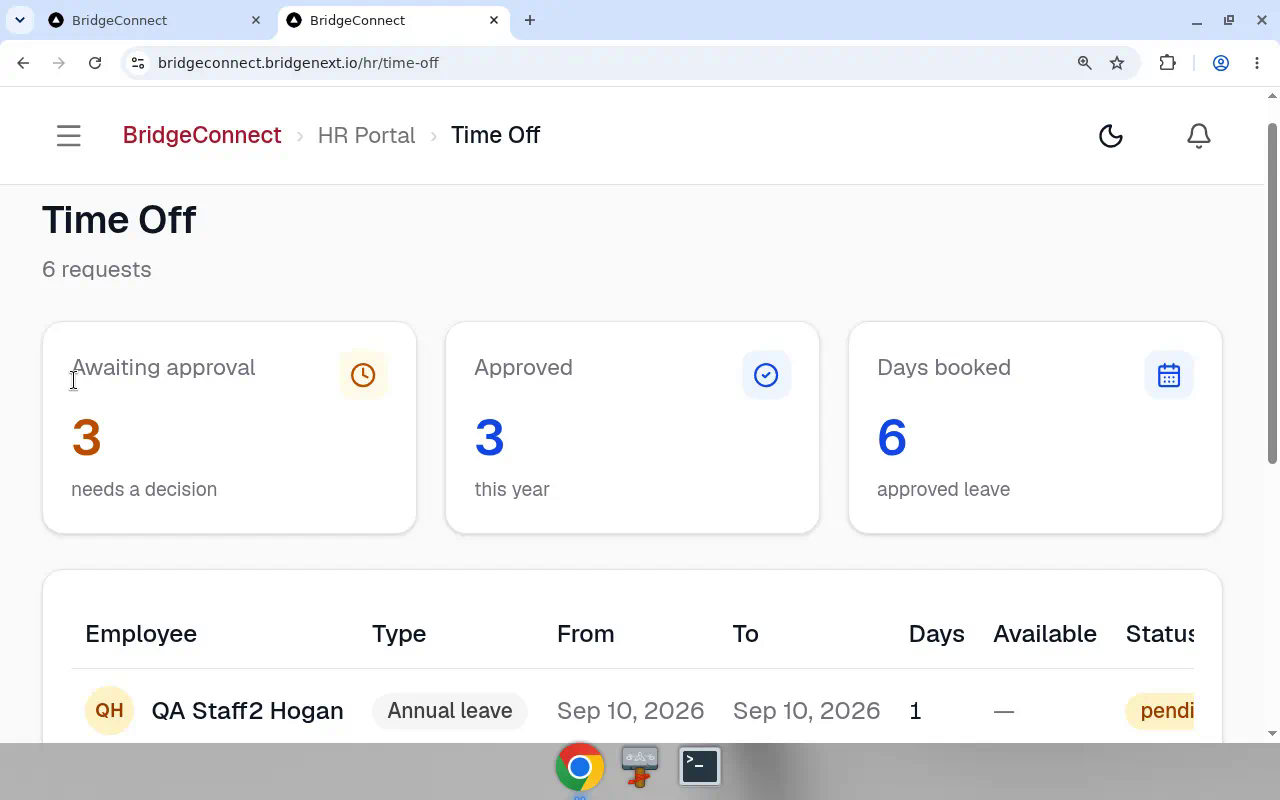
Request leave (for example Annual leave): pick dates, add a short note, submit. Status stays pending until a manager approves.
Coming soon
Some sidebar items (Documents, Settings, Performance Reviews, Offboarding) may show a Soon badge and aren’t available yet. That’s expected.
Quick checklist
- Role = I work at Bridgenext (company field stays hidden)
- Approved + signed in → HR shell (not Client)
- Admin linked your account → My HR shows your record
- Timesheets: per day + comments → derived period total → submit
- Time Off: request and wait for approval